
Introduction
So, firstly: What is a DDNS? Why is it useful? Well, as most of the people may know, normally, when you connect to the Internet, your router assigns you an IP address, which typically is dynamic, so it can change over time.
Great, so now imagine you want to access your device / server remotely (via SSH for example). When you connect with SSH to a device / server, you need the target IP address. The problem is that, if your IP is dynamic, it can change unexpectedly and the SSH connection will not work since the target IP address has changed.
But guess what, DDNS addresses the problem perfectly!. DDNS stands for Dynamic Domain Name System, and it is basically a way to associate a domain name to a dynamic IP address. This is how it usually works:
- You register a domain name with a DDNS service provider or use an existing domain name you own.
- You install a DDNS client software or configure a DDNS-enabled device on your network.
- The client or device periodically checks for IP address changes assigned by your Internet Service Provider.
- When a change is detected, the client or device updates the DNS records with the new IP address.
- The DNS records are propagated across the DNS infrastructure, linking the domain name to the updated IP address.
- Now, when you access the domain name, the DDNS service resolves it to the current IP address, allowing you to reach the device even if the IP address changes.
Magical, right?
Why Cloudflare?
As I own chessnibble.com and I have been configuring my PC for remote access recently, I thought about setting up a DDNS in order to make accessing my PC easily. There is a wide range of DDNS providers, some well known are:
Nevertheless, as I bought my domain from Cloudflare, I wanted to try configuring a DDNS with it, so, let me explain how I did it.
How does it work?
Initially you have to create a non-proxied DNS record of type A in your Cloudflare dashboard, which should point to the dynamic IP address you want to use the DDNS with:
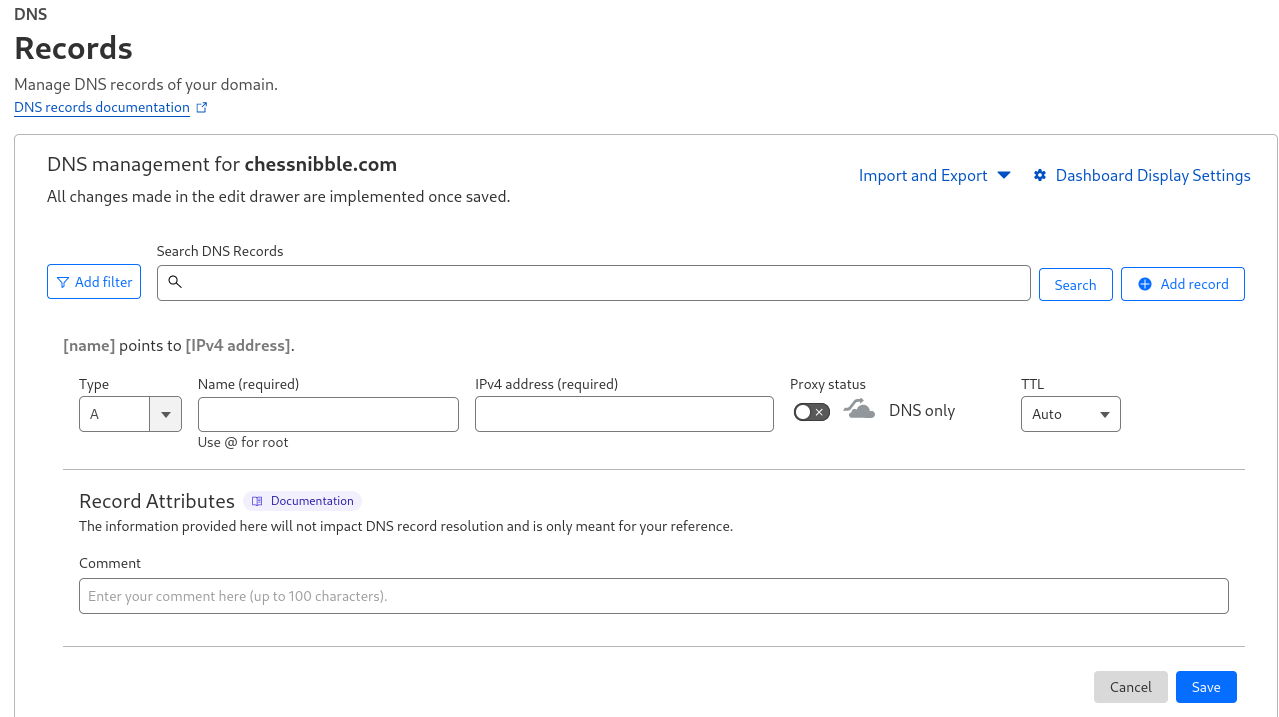
Thats pretty easy and straightforward, now comes the interesting part. If you want the DDNS to be fully functional, you need to find a way to update the IP the DNS record points to. This can be done by using different applications, but, in my opinion, the best way to do this is... using the Cloudflare API!
I have started using APIs recently and I am loving it so far, so this was definetely not going to be an exception. Here is the API endpoint to update a DNS record:
https://developers.cloudflare.com/api/operations/dns-records-for-a-zone-update-dns-record
To do this automatically, I also wrote a bash script and scheduled a cron task in order to keep the DNS record updated with my current IP address.
This is how the script looks like:
#!/bin/bash

IP=$(curl -s https://api.ipify.org)

export MAIL="yourcloudflaremail" # The email which is linked to your Cloudflare account
export API_KEY="YOUR_API_KEY"
export ZONE_ID="YOUR_ZONE_ID"
export DNS_ID="DNS_ID" # You can obtain the DNS ID listing your DNS records using the API too

curl --request PUT \
	--url "https://api.cloudflare.com/client/v4/zones/$ZONE_ID/dns_records/$DNS_ID" \
	--header "Content-Type: application/json" \
	--header "X-Auth-Key: $API_KEY" \
	--header "X-Auth-Email: $MAIL" \
	-d "{\"content\":\"$IP\", \"type\":\"A\", \"name\":\"hostname\"}"
It is worth noting that the IP is obtained using the ipify API, which is completely free and it does not even require an API key to use it. This was surprising for me.
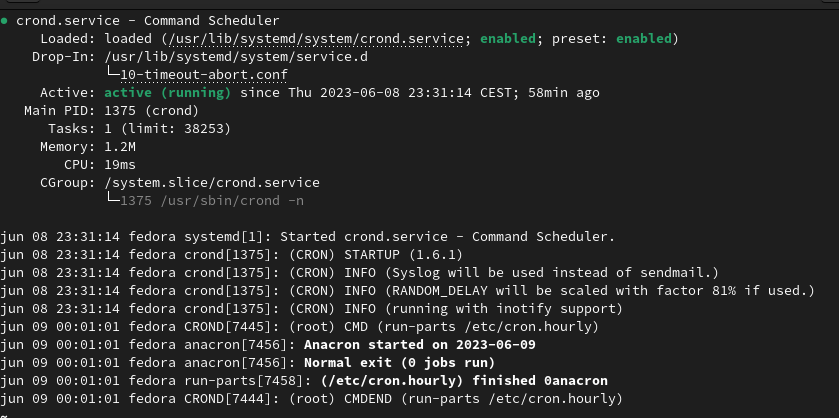
After creating the script and veryfing it was updating my IP successfully, I enabled the crond service and modified the crontab to execute the script each hour:
systemctl enable crond
systemctl start crond
crontab -e
This is how the crontab looks:
0 * * * * /bin/bash /home/ibaibur/Scripts/update_ip.sh
Final conclusions
In sum, this is how it works! Now, thanks to this, I am able to access my computer via SSH without even worrying about the target IP address. DDNS is something you should really look into if you work with remote machines on a daily basis.
Anyways, I hope you liked this blog post and understood my explanations. See you soon in the next post!